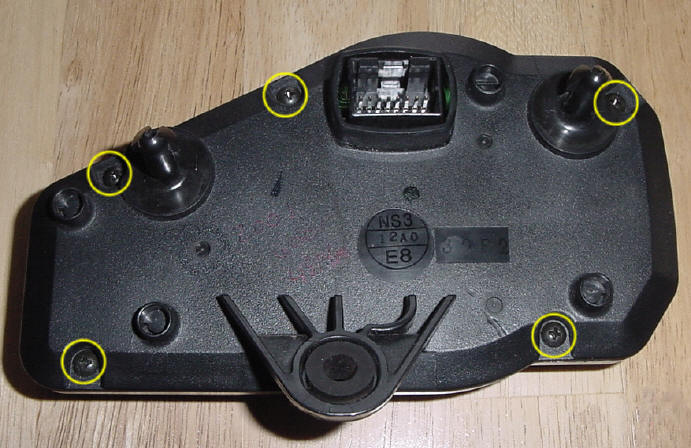
| Step 1: Remove gauges from the bike by removing one Phillips head screw and washer from near the bottom center of the gauge cluster. |
Step 2: Pull gauges toward you (as if you were sitting on the bike) out of the rubber shock mounts |
Step 3: Pull back the rubber boot protecting the wiring harness connector. |
| Step 4: Depress the tab that locks the connector in place and disconnect the connector from the gauges. |
Step 5:
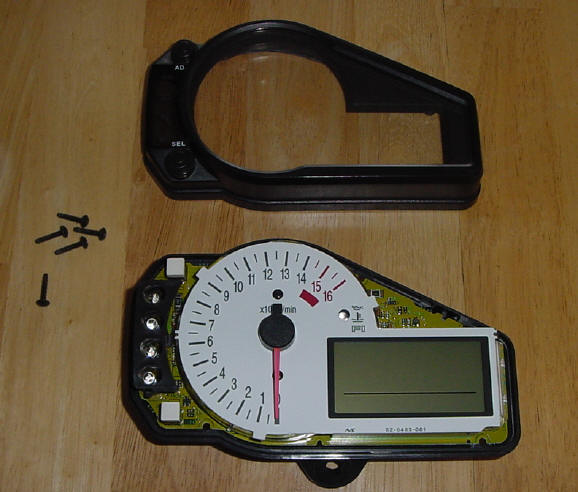
Put gauges on a table or workbench face down and remove 5 screws shown. |
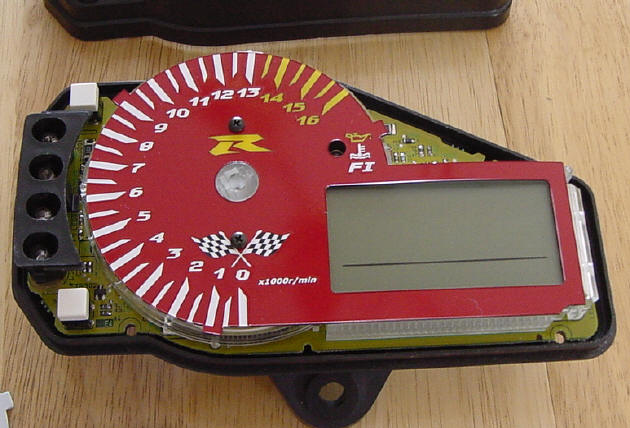
Step 6:
Turn gauges over and lift off the front cover |
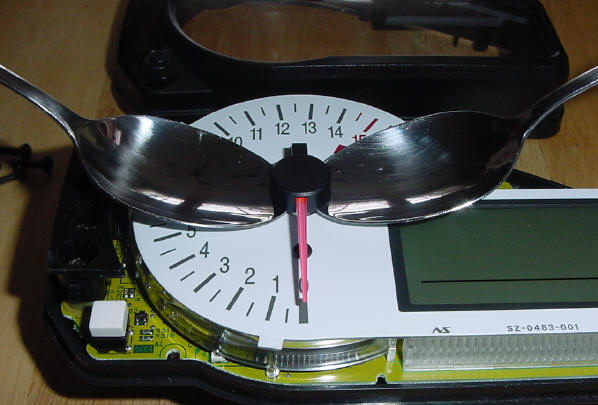
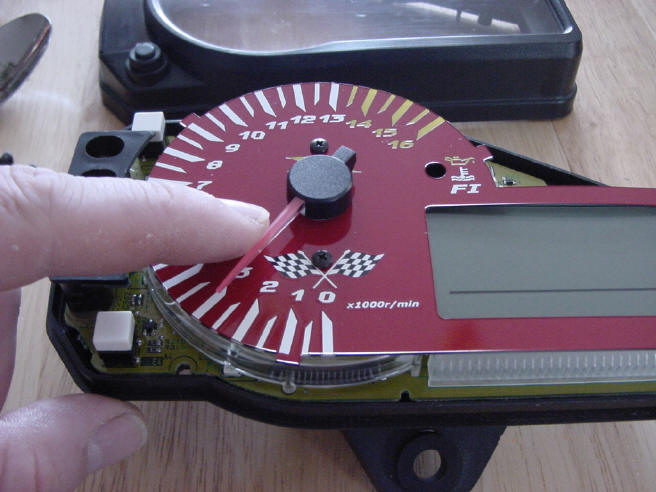
| Step 7:
Using 2 spoons, lift the needle up and out of the tachometer. |
Step 8:
After the needle is out of the way, remove the 2 small screws holding the faceplate on and remove the faceplate. |
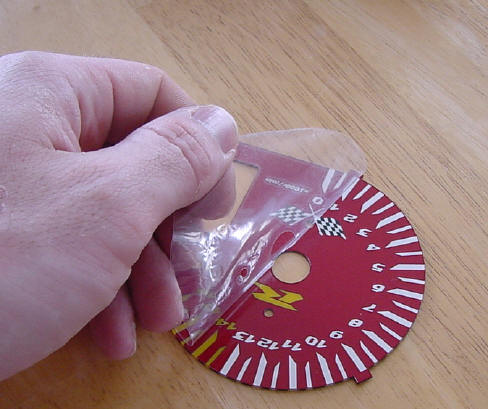
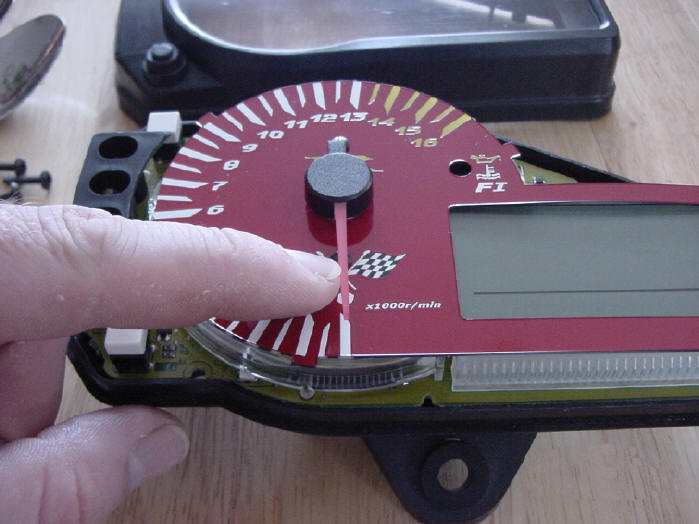
Step 9:
Remove the protective film from the new faceplate as shown. |
| Step 10:
Align new faceplate on the gauge cluster and reinstall 2 small screws |
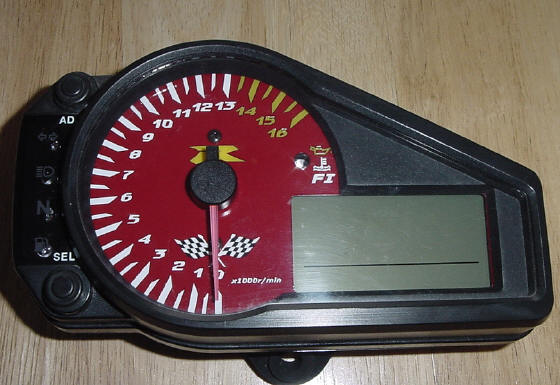
Step 11:
Insert needle into gauges. Turn counterclockwise until you feel resistance. (Be sure not to hold it down as this will allow it to spin all the way around.) |
Step 12:
Continue turning needle until it lines up with 0. If you go too far, continue all the way around again. |
| Step 13:
Assemble the case and reinstall the 5 screws removed in step 5. |
Step 14: Connect wiring harness to the back making sure the connector is inserted all the way and the tab is locked.
|
Step 15: Push gauges back into rubber shock mounts and reinstall the screw and washer at the bottom center of the gauges. |