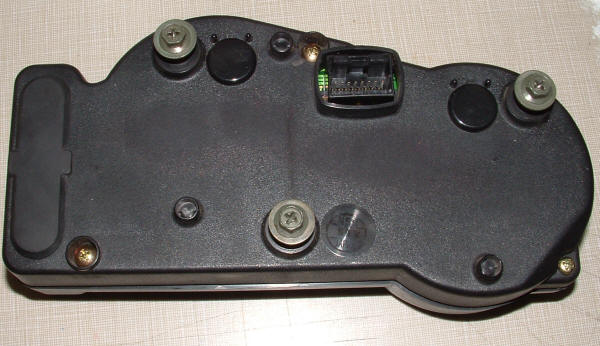
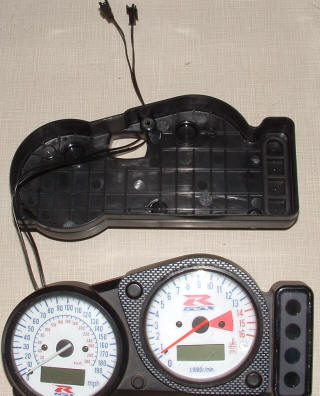
| Step 1: Remove gauges from the bike and lay face down on work area. Remove 3 screws holding the case together:
|
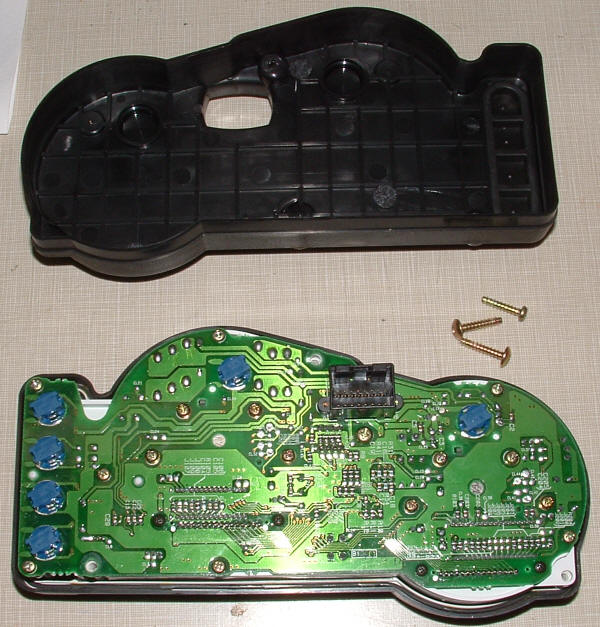
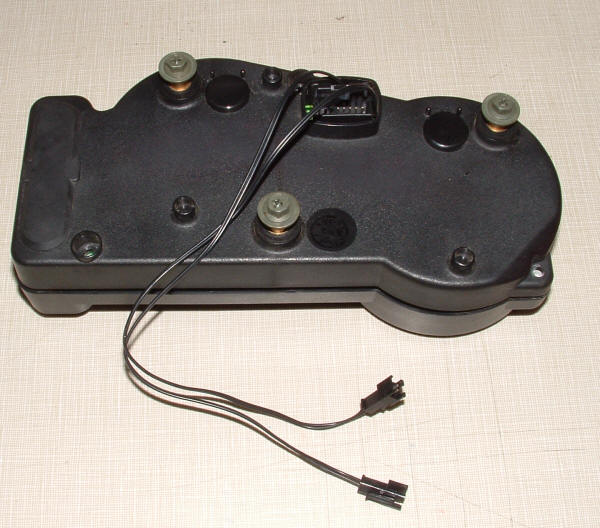
Step 2: Separate the case and then remove 1 screw directly beneath the large black connector:
|
Step 3: Remove front cover, install small white panel over warning light area. (Remove clear film on topside and remove backing to expose the adhesive.) 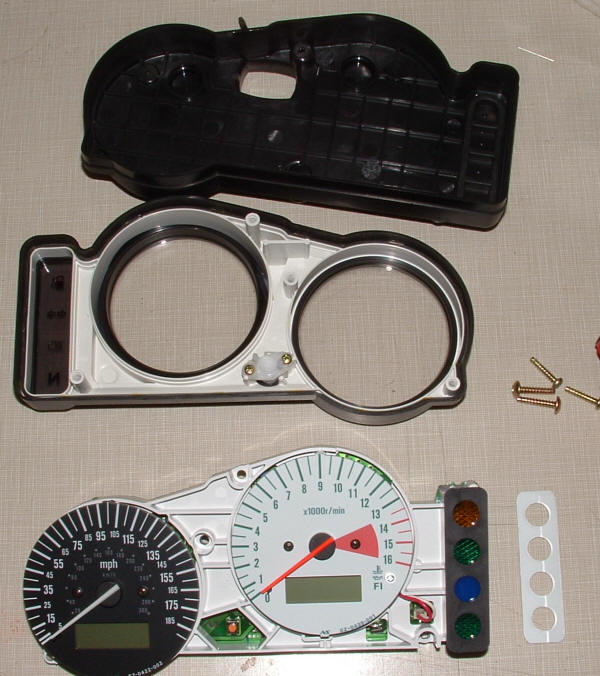 |
Step 4: Remove the 2 small black screws on either side of each needle 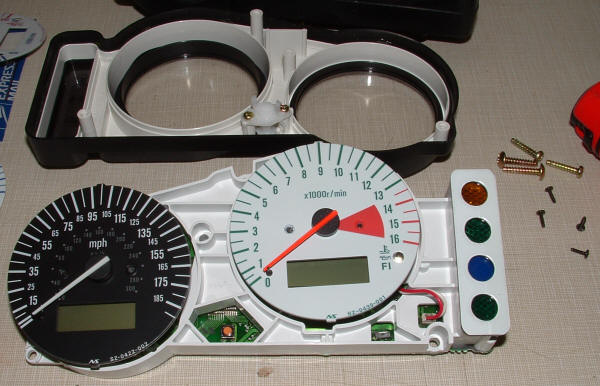 |
| Step 5: Point the needles up for easy installation of the faceplates. (You can remove the backing to expose adhesive if you desire but it isn't required) 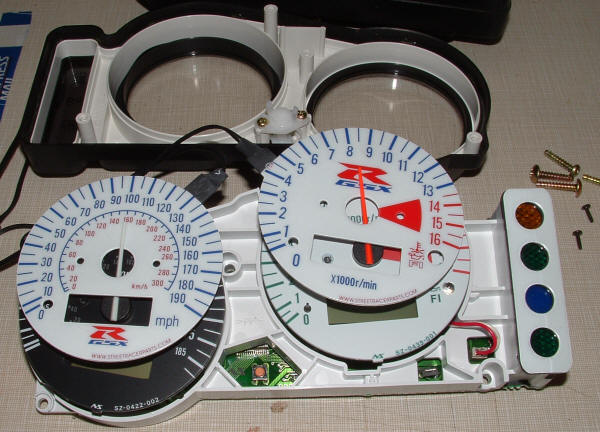 |
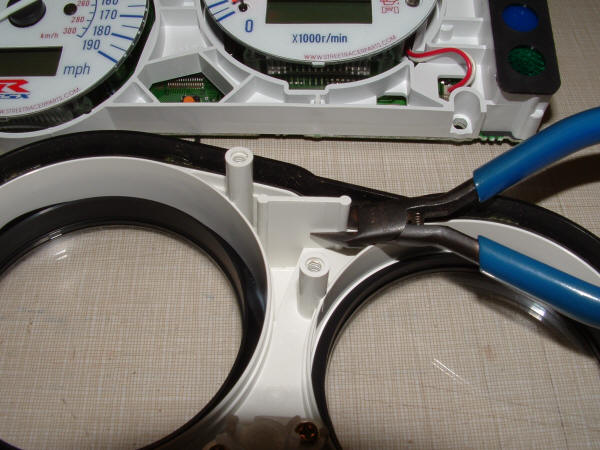
Step 6: Cut away the tab shown here as much as possible:
|
Step 7: Cut out the plastic from the areas shown here to make room for the tabs on the faceplates. 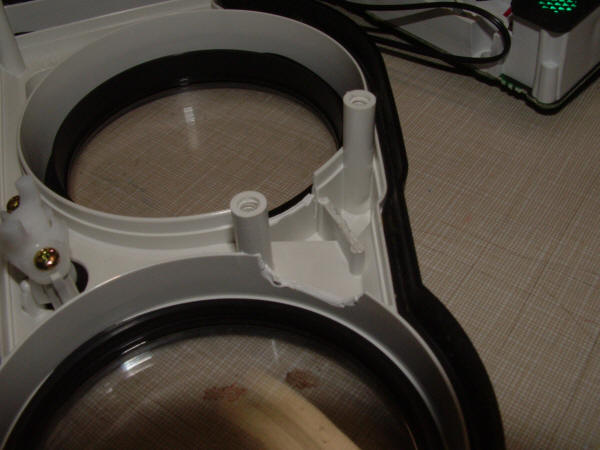 (Not necessary on newer faceplates with ribbon tabs) |
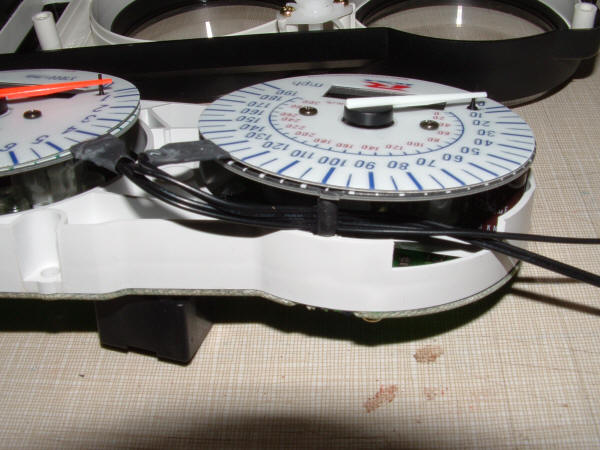
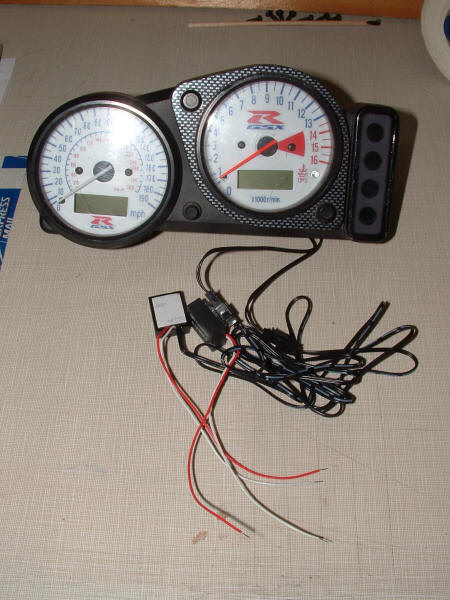
Step 8: Route the wires as shown here:
|
| Step 9: Place gauges inside front cover and route the wires as shown here:
|
Step 10: Carefully replace back cover. (Be very careful not to pinch any wiring, this is the cause of most failures)
|
Step 11: Connect the transformers into your bike's wiring harness or fuse box:
Red=+12v |
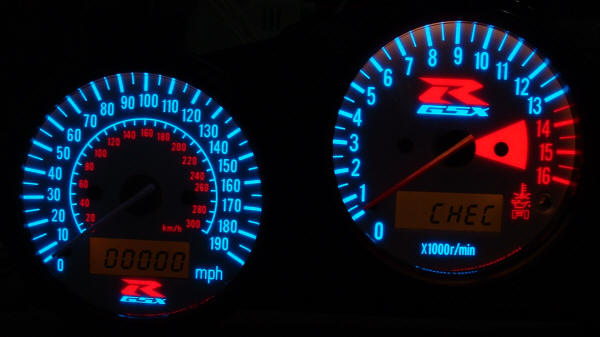
Step 12: |
| Note: We can install these for you free if you send in your gauges when ordering the faceplate. We will install the transformer wiring directly onto the circuit board inside the gauges so that all you need to do is plug them in and go riding. | |||