
|
|
|
|
|
|
|
|
|
|
|
|
|


2006 ZX-10R
Gauge installation / removal instructions
Note: It may be possible to remove
the gauges simply by
removing the windscreen (Step 3) and then removing the
gauges (Step 6) if you have the right tools.
| Instructions: | Images: |
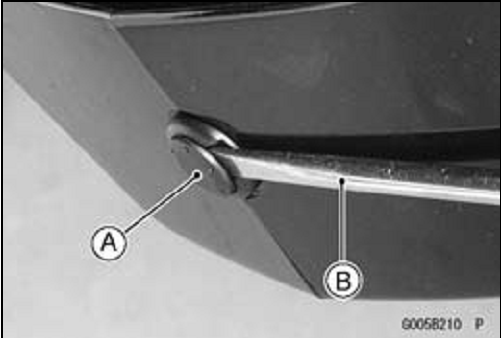
1. Remove lower fairings:(Top photo) |
  |
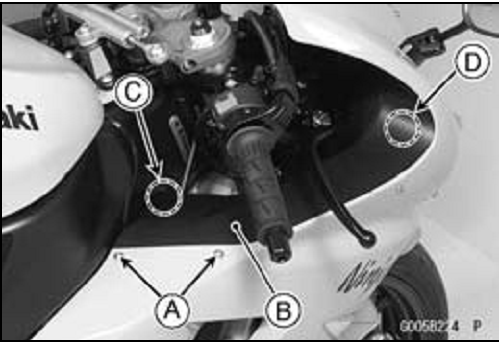
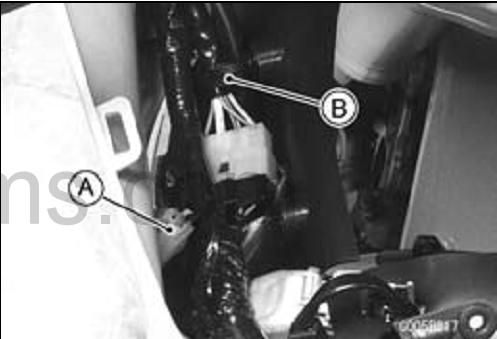
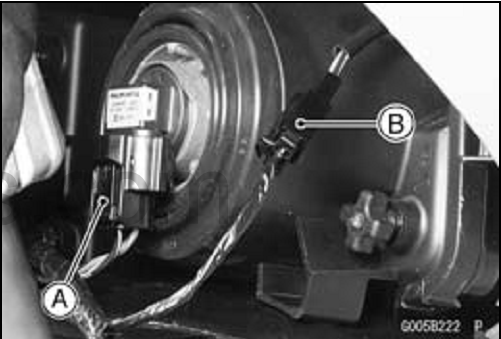
2. Remove upper inner fairings:1. Remove the bolts [A] with washers. |
 |
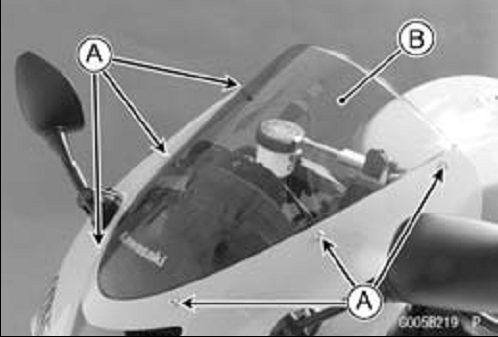
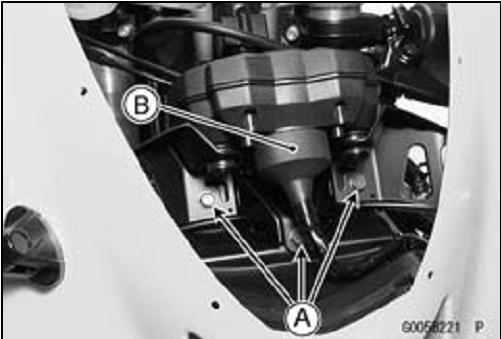
3. Remove windshield:1. Remove bolts [A] and washers. |
 |
4. Remove middle fairings:(Top Photo) |
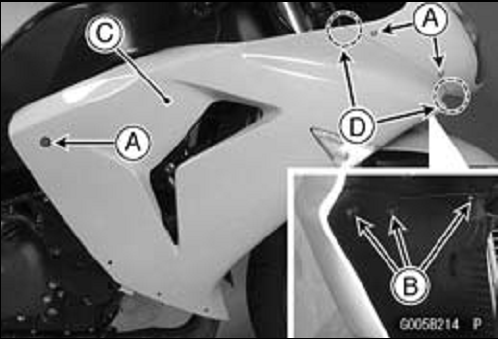  |
5. Remove upper fairing(Top Photo) |
  |
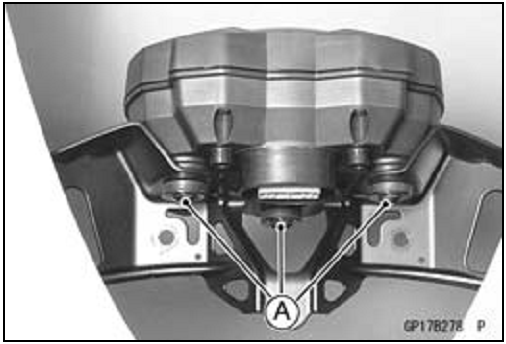
6. Remove gauges1. Remove screws [A] with washers. |
 |