|
|
|
|
|
|
|
|
|
|
|
|
|


Installation
Instructions
For Mototeck faceplates on 2000-2004 F4i gauges.
Click here for printer friendly version
|
Step 1 Remove the mirrors: |
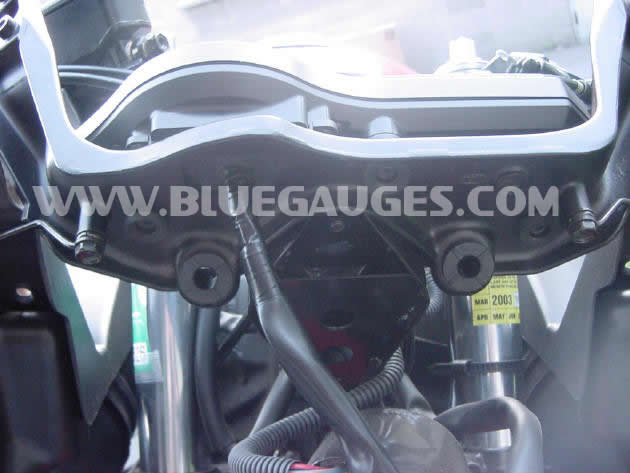
Step 2 Remove headlight
fairing: |
Step 3 Remove 2 plastic clips from underside near forks. |
|
Step 4 After it is partially off, disconnect 1 large wiring harness connector
to remove the front fairing from the bike. |
Step 5
Remove the 3
Phillips-head screws from the back side of the gauges.
|
Step 6 Pull the whole cluster forward out of the shock mounts. (towards you assuming you are sitting on the bike) |
|
Step 7 Depress the tabs on the two wiring harness connectors from the backside of the gauges and disconnect wiring from the bike to the gauges. |
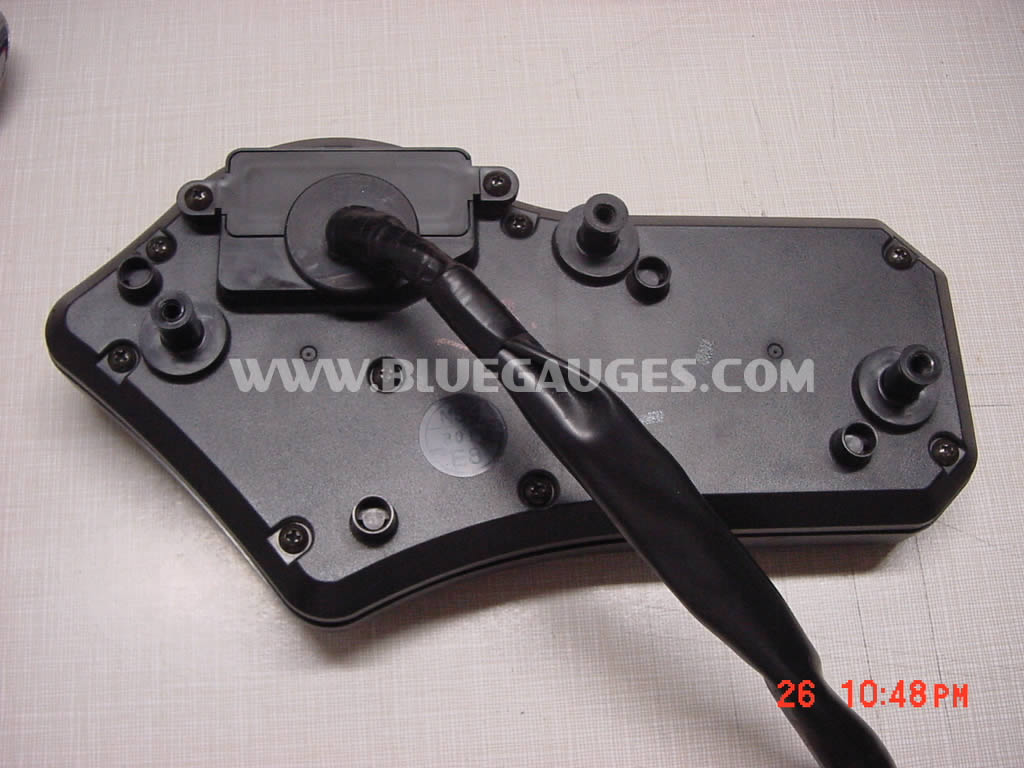
Step 8 Remove 8 screws from back cover. |
Step 9 Remove 2 small screws on
small cover. |
|
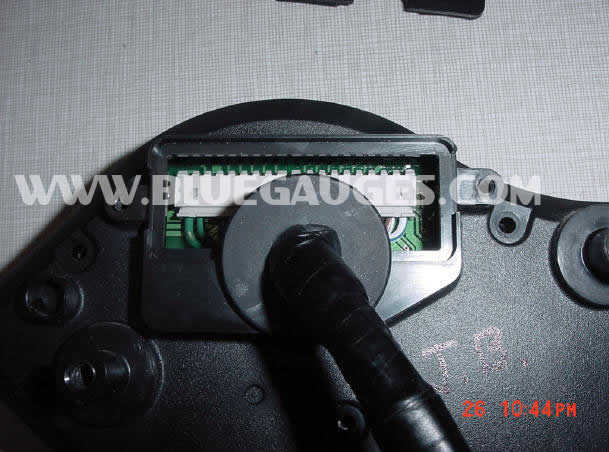
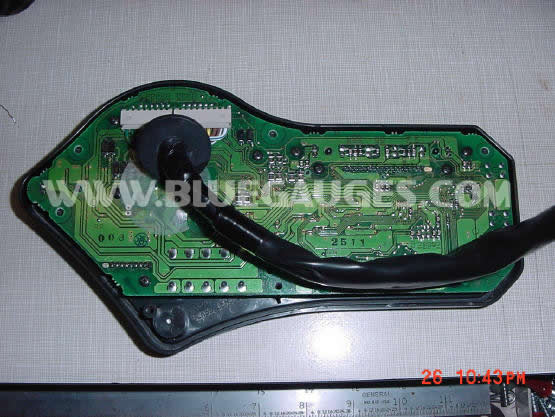
Step 10 Lift back cover off and
remove the circuit board from the case. |
Step 11 Lift needle over the needle stop pin and let it come to rest just on the other side of the needle. This is where you want to reinstall it when you are ready to put it back in. |
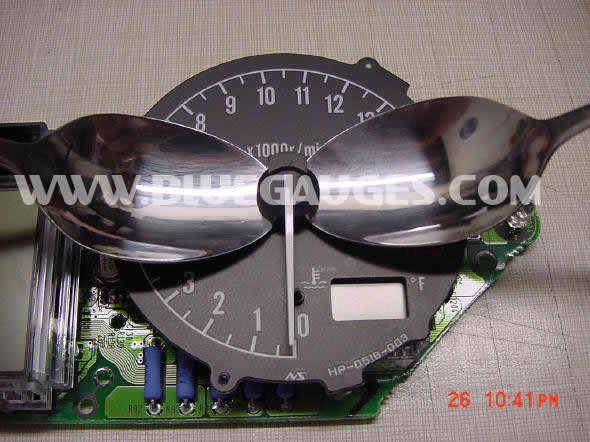
Step 12 Use 2 spoons to carefully remove the
needle: |
| Step 13 Swap faceplates and also move the needle stop pin from the old face to the new one. |
Step 14 Re-install needle so that it is where it was when you removed it. Carefully lift the needle over the pin. There should be a natural tendency for the needle to want to press itself against the needle. |
Step 15 Re assemble gauges and test to make sure needle works properly. If it is out of place remove as before and install it until it is correct. |